HTML Project Lesson 3 - The Photos Page
The third page of this web site will display photos and information about the photos. The person viewing the web page will also be able to click on the photos to view a larger version of the photo.
1 |
|
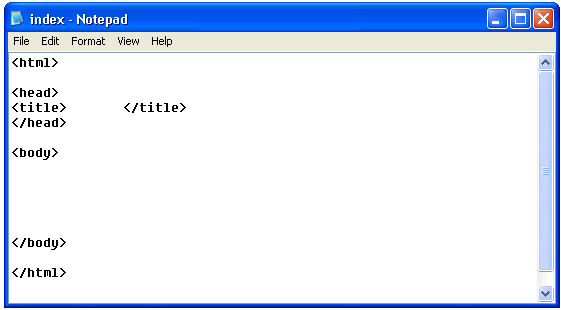
Since you are starting a new page, you will need to start a new HTML document in NotePad. Click Start > All Programs (Programs) > Accessories > NotePad. Type your foundational HTML Tags into Notepad exactly as shown below.
2 |
|

Type Heartland Equality Photos between the opening and closing title tags as shown at the right.
3 |
|
Press Ctrl + S to save your file. When the Save As window appears, use the Save In menu at the top of the window to navigate to your folder. Double-click on your folder to select it.
In the File Name menu near the bottom of the window, type photos.htm, then click Save.
In the File Name menu near the bottom of the window, type photos.htm, then click Save.
4 |
|
As you have done of the first two pages, set the background color of the page by placing the attribute and value bgcolor=lemonchiffon inside the body tag. Press Ctrl + S to save your file.
5 |
|
Just as you did in the two previous pages, place the following font at the top of your page: Heartland Equality Photos. Remember to use the<font> tag to set the size, color, and face EXACTLY as you did for the profile page.
Press Ctrl+S, then open your page, photos.htm, in the browser.
Press Ctrl+S, then open your page, photos.htm, in the browser.
6 |
|
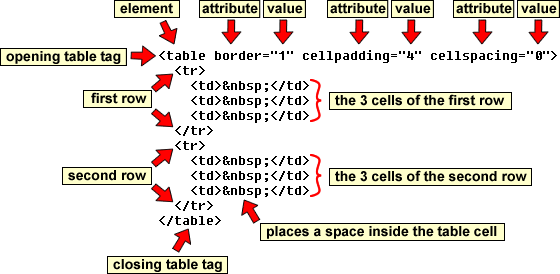
You are now going to make a table that will hold 3 photos and their descriptions in a particular place on the web page. The table you will make will have 2 rows, with 3 cells in each row. Place the HTML seen below in between the opening and closing body tags in your page. Make sure you understand effect each element, attribute, and value has.
Press Ctrl+S, then open your page, photos.htm, in the browser. refresh your page
7 |
|
We have provided links to each of the 6 photos you will need for this page. You will need to download the images to your heartland_equality folder. To do this, right click on each of the links and choose either Save Target As or Save Link As, then use the Save As window to navigate to the heartland_equality folder and click Save to download the image, saving it to your folder.
|
| ||||||||||||
|
| ||||||||||||
|
| ||||||||||||
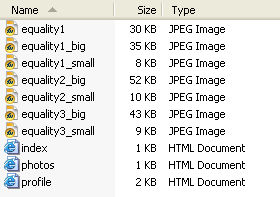
Once you have the all 6 images saved in your folder, you should see all the files shown in the image at the right.
NOTE: Your folder may display the files differently, depending upon how your computer is set to display files.
NOTE: Your folder may display the files differently, depending upon how your computer is set to display files.
8 |
|
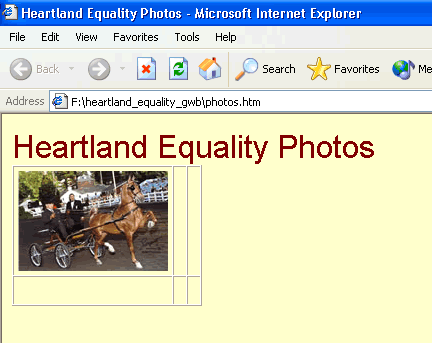
The small images will now be placed inside the table you have created. Place the HTML shown below in between the opening and closing <td> tags for the first cell in the first row. NOTE: The <img> tag will replace the .
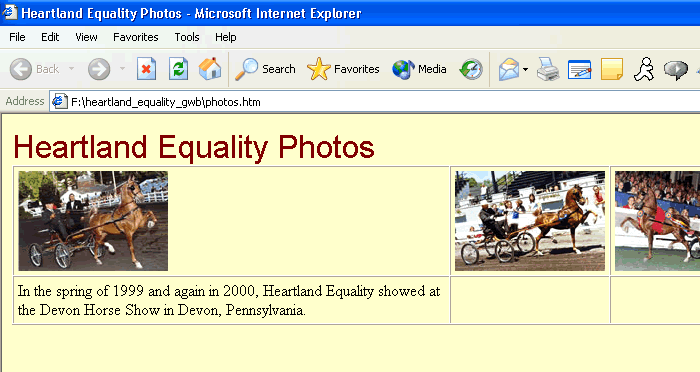
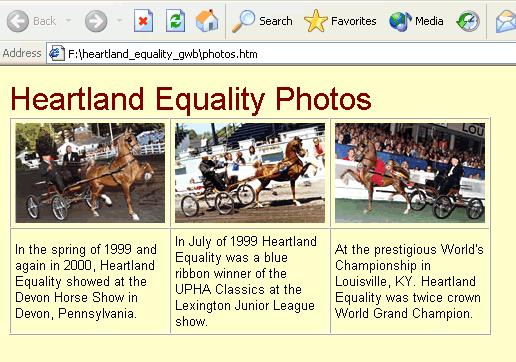
Press Ctrl+S, then open your page, photos.htm, in the browser. Once you refresh your page, it should look like the status check below.
9 |
|
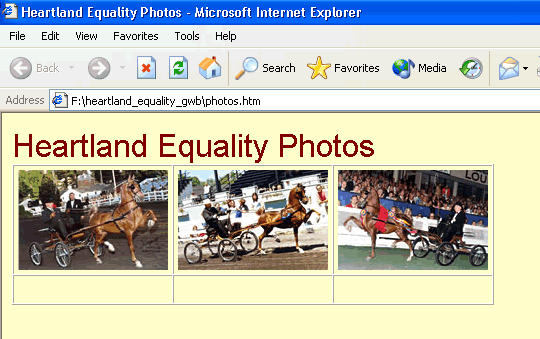
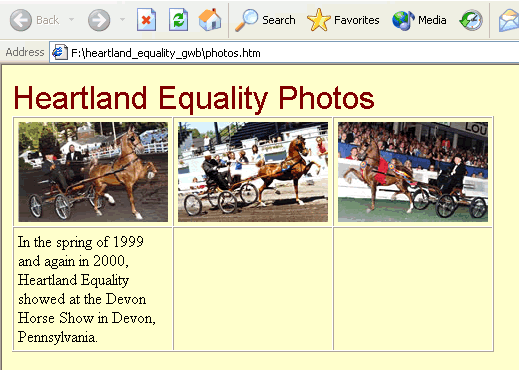
Seeing how you placed the <img> tag between the opening and closing <td> tags for the first cell, do the same for the second and thirds cells of the first row. Place equality2_small.jpg in the second cell and equality3_small.jpg in the third cell.
NOTE: In this lesson you will only be using the smaller photos, the three larger ones will be incorporated into this web page in a later lesson.
Press Ctrl+S, then open your page, photos.htm, in the browser. Once you refresh your page, it should look like the status check below.
NOTE: In this lesson you will only be using the smaller photos, the three larger ones will be incorporated into this web page in a later lesson.
Press Ctrl+S, then open your page, photos.htm, in the browser. Once you refresh your page, it should look like the status check below.
10 |
|
You have just placed an image in each of the three cells in the first row. Now you will place text in each of the 3 cells in the second row. Therefore, each image will have text beneath it. Highlight the text below, right-click on it and choose Copy.
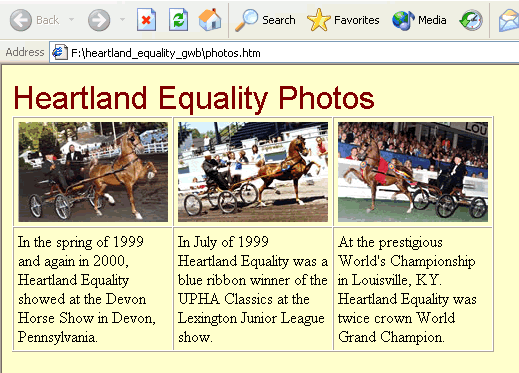
In the spring of 1999 and again in 2000, Heartland Equality showed at the Devon Horse Show in Devon, Pennsylvania.
Open your HTML file, highlight the in the first cell of the second row, then right-click on the highlighted text and choose Paste.
Press Ctrl+S, then open your page, photos.htm, in the browser. Once you refresh your page, it should look like the status check below.
Press Ctrl+S, then open your page, photos.htm, in the browser. Once you refresh your page, it should look like the status check below.
11 |
|

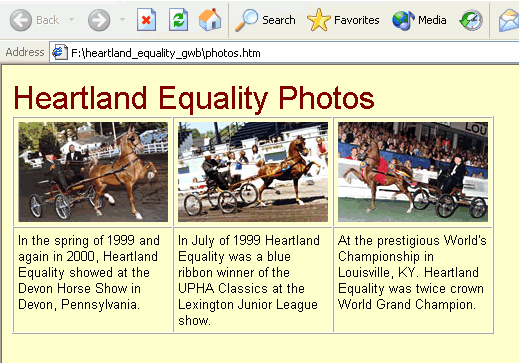
Notice how placing the text in the cell extends the table far to the right. To correct this add width=150 as an attribute and value of that <td> tag, as seen at the right.
Press Ctrl+S, then open your page, photos.htm, in the browser. Once you refresh your page, it should look like the status check below.
Press Ctrl+S, then open your page, photos.htm, in the browser. Once you refresh your page, it should look like the status check below.
12 |
|
Repeat the process used in instructions 10 and 11 to place the text shown below in the second and third cells respectively. Remember to set the <td> width to 150 pixels, just as you did in the first cell.
In July of 1999 Heartland Equality was the blue ribbon winner of the UPHA Classics at the Lexington Junior League show.
At the prestigious World's Championship in Louisville, KY. Heartland Equality was twice crowned World Grand Champion.
Press Ctrl+S, then open your page, photos.htm, in the browser. Once you refresh your page, it should look like the status check below.
13 |
|
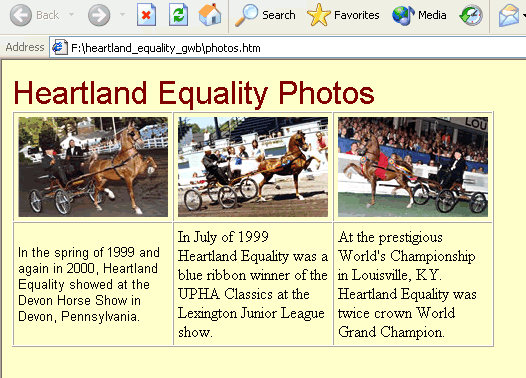
Notice that the text in the page is not Arial font and therefore does not match the text on the other pages. To correct this, place the <font> tag with the following attributes and values shown below between the opening and closing <td> tags of the second row, as shown below.
Press Ctrl+S, then open your page, photos.htm, in the browser. Once you refresh your page, it should look like the status check below.
14 |
|
Use the same procedure you used in the last step to format the font in the other two cells.
Press Ctrl+S, then check your page, it should look like the status check below.
Press Ctrl+S, then check your page, it should look like the status check below.
15 |
|
While looking at the last status check, you may have noticed that the text inside each cell is not aligned. For example, the text does not start in the top left corner of the cell. To get the text to do this, place the align=left valign=top following attributes and values inside each of the <td> tags containing text, as shown below.
Press Ctrl+S, then check your page, it should look like the status check below.
16 |
|
Make the border of the table invisible by changing the value of the border attribute inside the opening table tag to "0".
17 |
|
Just as you did in the previous 2 pages, place an opening <center> tag after the opening <body> tag, then place the closing </center> tag, just before the closing </body> tag. This will center everything on the page.
18 |
|

Lastly, the large font at the top of the page is too close to the table. Place a <p> tag between the text and opening <table> tag as shown at the right.
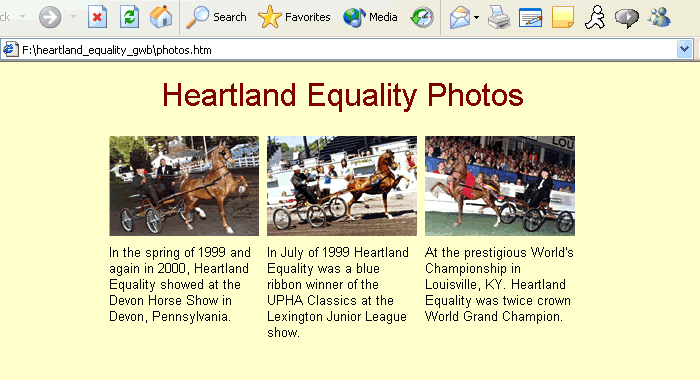
Press Ctrl+S, then check your page, it should look like the status check below.
Press Ctrl+S, then check your page, it should look like the status check below.
Be certain all your work is saved, upload photos.htm below and then proceed to the next lesson.
