HTML Project Lesson 4 - Horse Results Page
The fourth and final page of this web site will display horse show results in two bordered tables, one for 1999 and one for 2000. You will also learn how to make the cells of your tables different colors.
1 |
|
Since you have already made 3 web pages, you should be ready to do some of the HTML for this page on your own. Make a new HTML file in NotePad, set your foundational tags, set the background color to match the other 3 pages, and title the page Heartland Equality Horse Show Results. Place the text Heartland Equality Horse Show Results at the top of the page in the same size, color, and face as the text heading on the last page you made. Place the <center> tags just after and before the opening and closing <body> tags, keeping everything on the page centered. Lastly, place the <p> tag, just beneath the line of text.
Save your page in the same manner and location you have save the first three pages you have made. Name the page show_results.htm.
Save your page in the same manner and location you have save the first three pages you have made. Name the page show_results.htm.
2 |
|
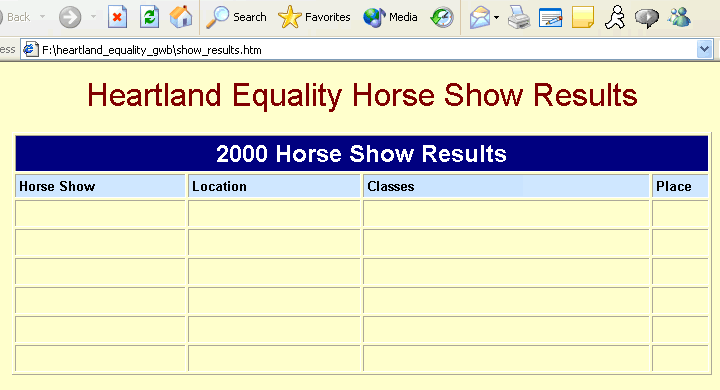
This table will be the longest and most complicated table you have made so far. Below is an example of what the table will look like.
Notice that this table is different from the first two you have made in at least 6 ways.
1) One cell makes up the entire first row and it spans the 4 cells beneath it which are in the second row.
2) Different cells of the table are different colors.
3) The text in the first cell is a different color than the rest of the text in the table.
4) The text in the first cell is larger than the rest of the text in the table.
5) The table has more rows and columns than the first two tables you have made.
6) The table's border is visible.
IMPORTANT: Follow the instructions below very carefully, one step at a time. Even the smallest mistake in your HTML could cause your entire table to display incorrectly.
3 |
|
The first thing to do is place the basic HTML for your table between the opening and closing body tags of your page. Place the code below after your </font> but before </body>
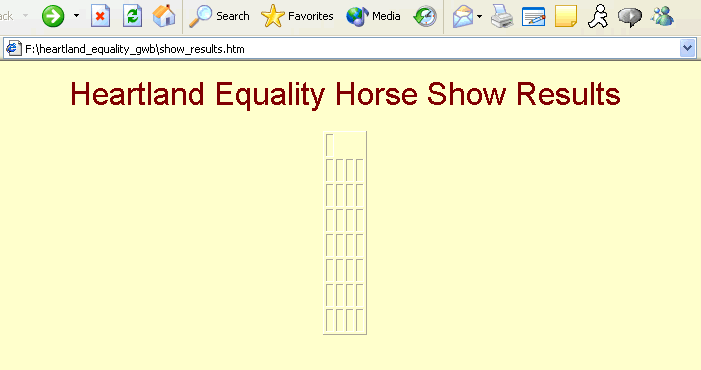
Save your HTML then view your page in the browser to make sure it looks like the status check below.
4 |
|
5 |
|
6 |
|
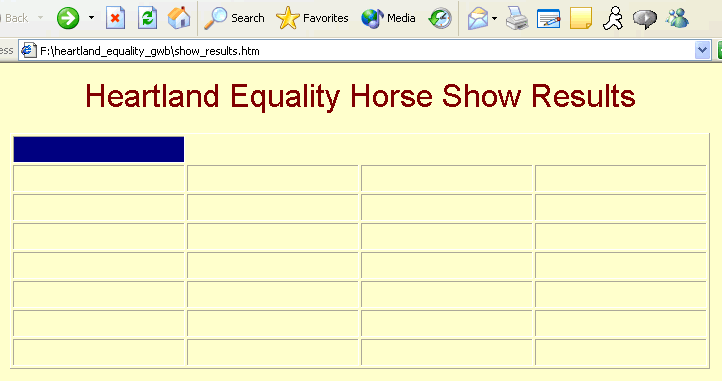
Notice in the status check above that there is only one cell in the first row. The attribute and value of colspan="4" will correct that, as explained below. Be sure to include all the attributes and their associated values shown below.
Save your HTML then view your page in the browser to make sure it looks like the status check below.
7 |
|
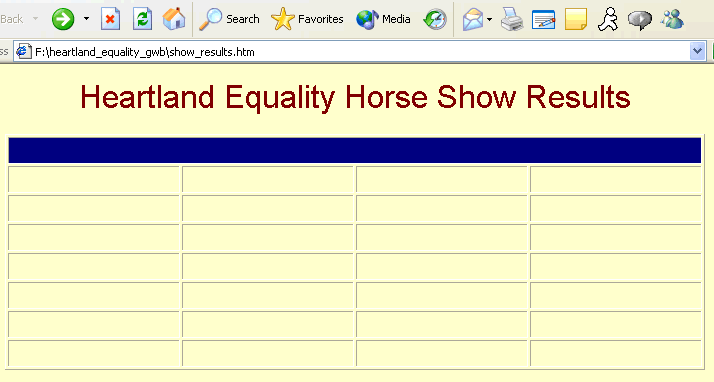
Finish out this line of HTML by adding all that is shown below.
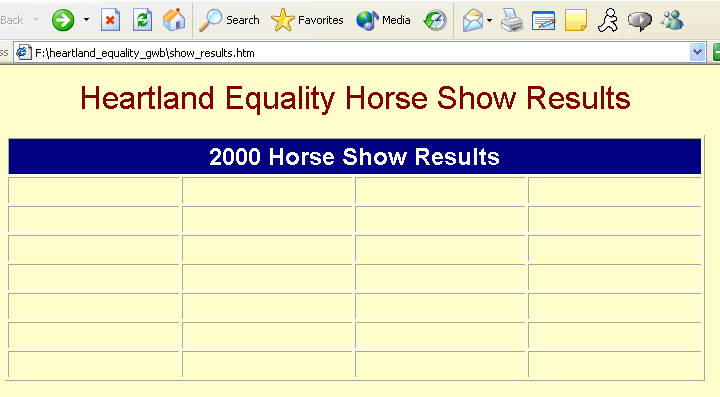
Save your HTML then view your page in the browser to make sure it looks like the status check below.
8 |
|
Place the table row tag, with its attributes and values shown below into your HTML.
9 |
|
Place the HTML shown below in your page to complete the next row of the table.
Save your HTML then view your page in the browser to make sure it looks like the status check below.
10 |
|
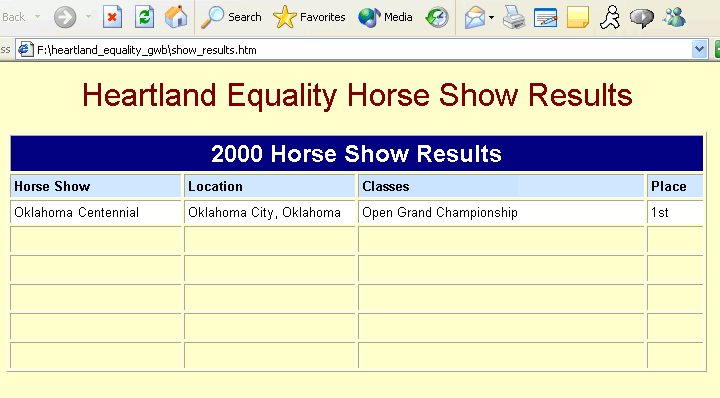
Type the ONLY the red text into your HTML file. It should start on the 3rd set of <tr> tags.
<tr align="left" valign="top" bgcolor="ffffff">
<td>Oklahoma Centennial</td>
<td>Oklahoma City, Oklahoma</td>
<td>Open Grand Championship</td>
<td>1st</td>
</tr>
Save your HTML then view your page in the browser to make sure it looks like the status check below.
11 |
|
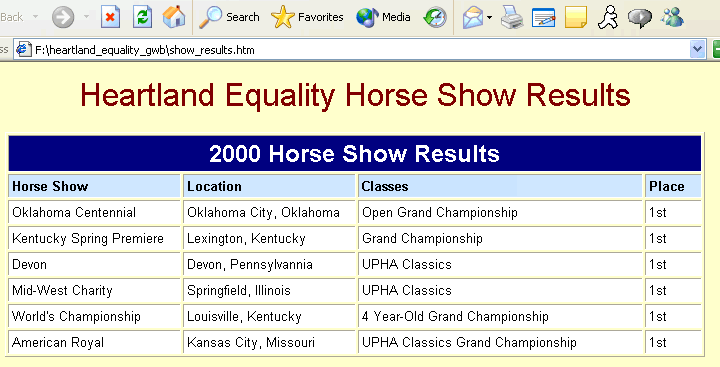
Shown below is the part of the table that still needs to be constructed. The HTML for each of the last 5 rows of the table will look exactly like the 3rd row of the table(the one in you made in instruction #10), with only one exception - the information about the different horse shows. On your own, make the rest of the table.
Save your HTML then view your page in the browser to make sure it looks like the status check below.
12 |
|
Space down a couple lines after your the closing </table> tag, then add a <p> tag.
13 |
|
The table you have just made displays the show results for the year 2000. Next you will make a table exactly like the first, except it will display the show results for 1999. The nice thing is, you won't have to type in the HTML for the second table.
In your HTML, highlight all the HTML for the table (from the opening <table> tag to the closing </table> tag). Right-click on the highlighted text and choose Copy. Place your cursor between the last <p> tag and the closing </body> tag. Right-click and choose Paste.
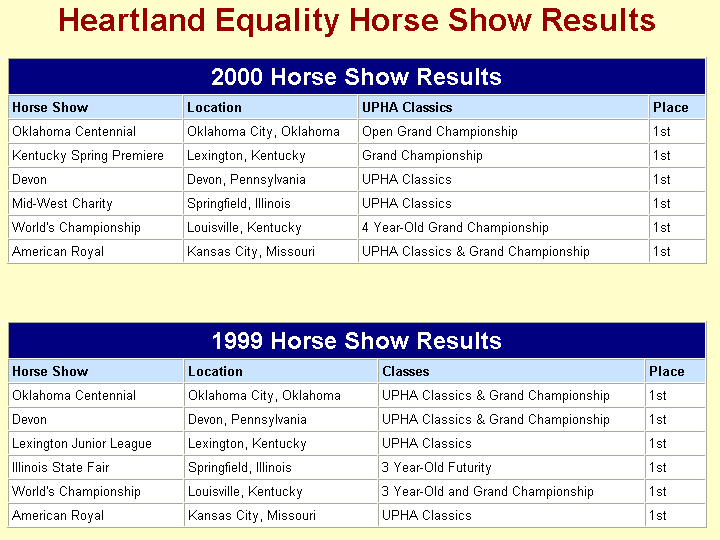
All you need to do is change the text in the second table to reflect the results of 1999. Use the image below as your guide to change the text in the cells to 1999's results.
14 |
|
Your page should look like below
Be certain all your work is saved, upload show_results.htm below and then proceed to the next lesson.


